Simple UI Mode
Simple UI is a workflow driven wizard that helps you get started quickly from project creating to project testing and delployment. This chapter we'll go through every steps to show you how to create your first project easily in wizard mode.
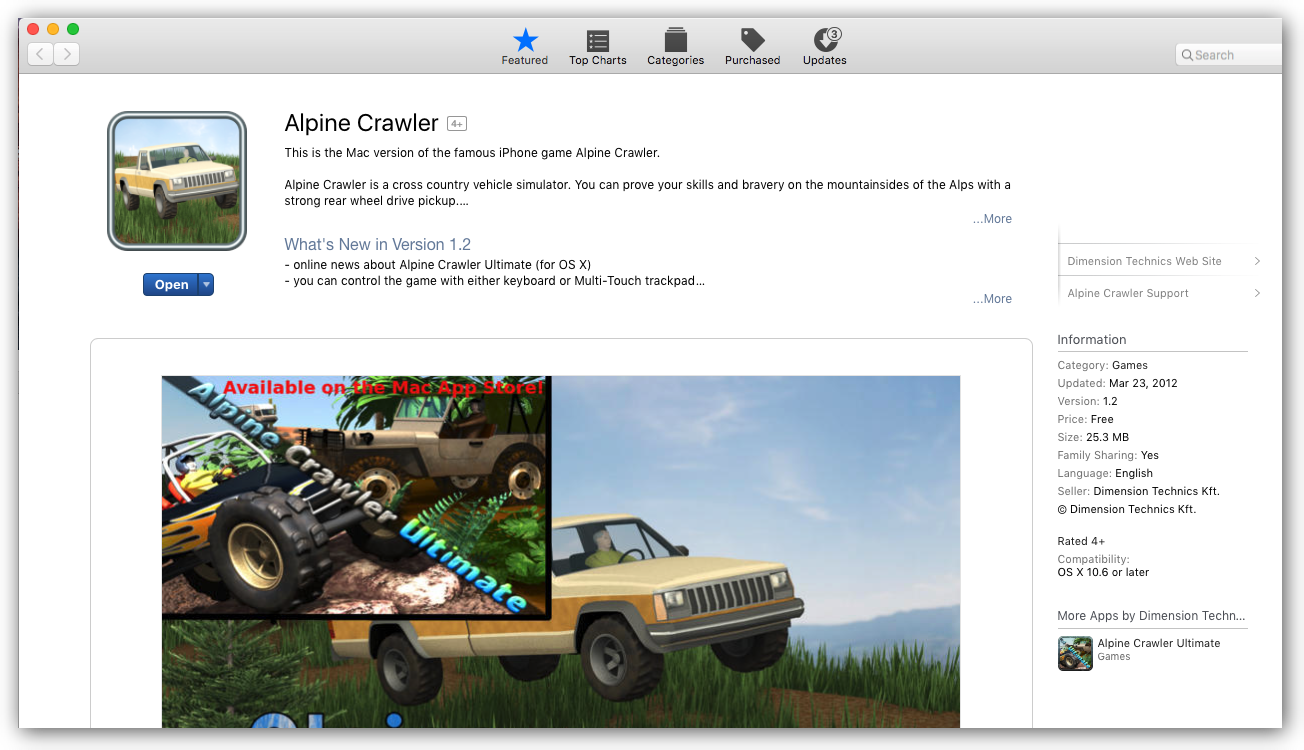
In this chapter, we will use a free game Alphine Crawler as our test case.
New Project
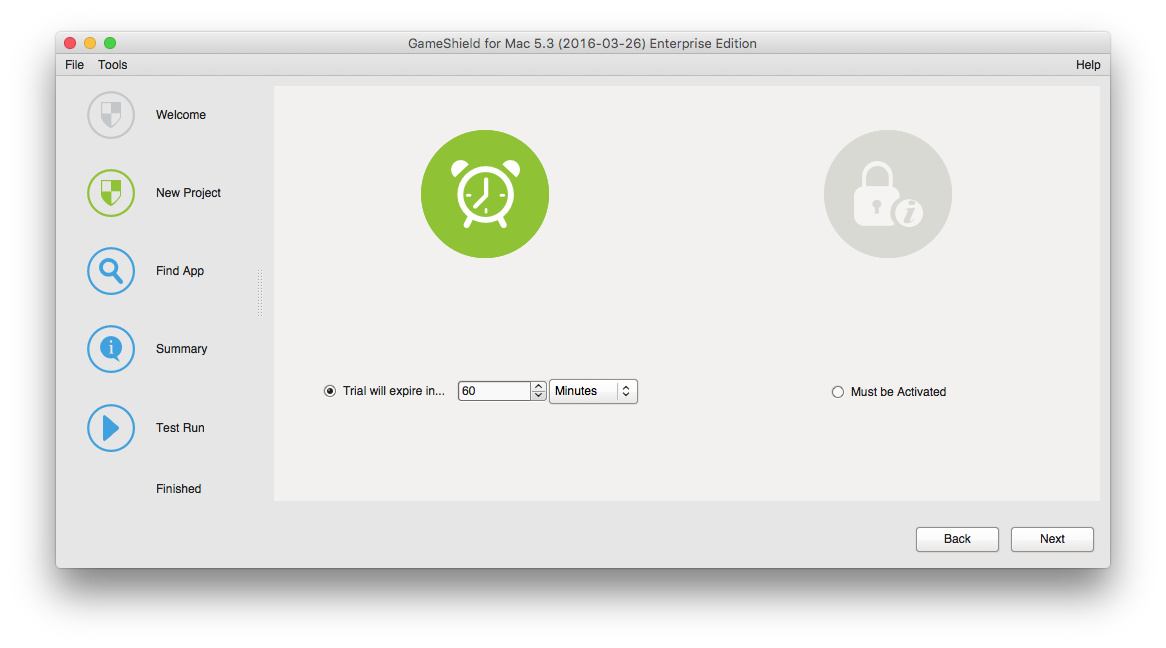
When creating a new project, you have two choices:
-
Trial License Model
It allows your app to run in trial / demo mode before fully activated. You can choose the trial period in seconds, minutes, hours or days.
-
Non-Trial License Model
Your app can only run after fully activated.
In this tutorial, we will select the trial license model with 3 minutes so we do not have to wait too long to see what'll happen when the trial period expires.
Click "Next" button to continue.
Find App
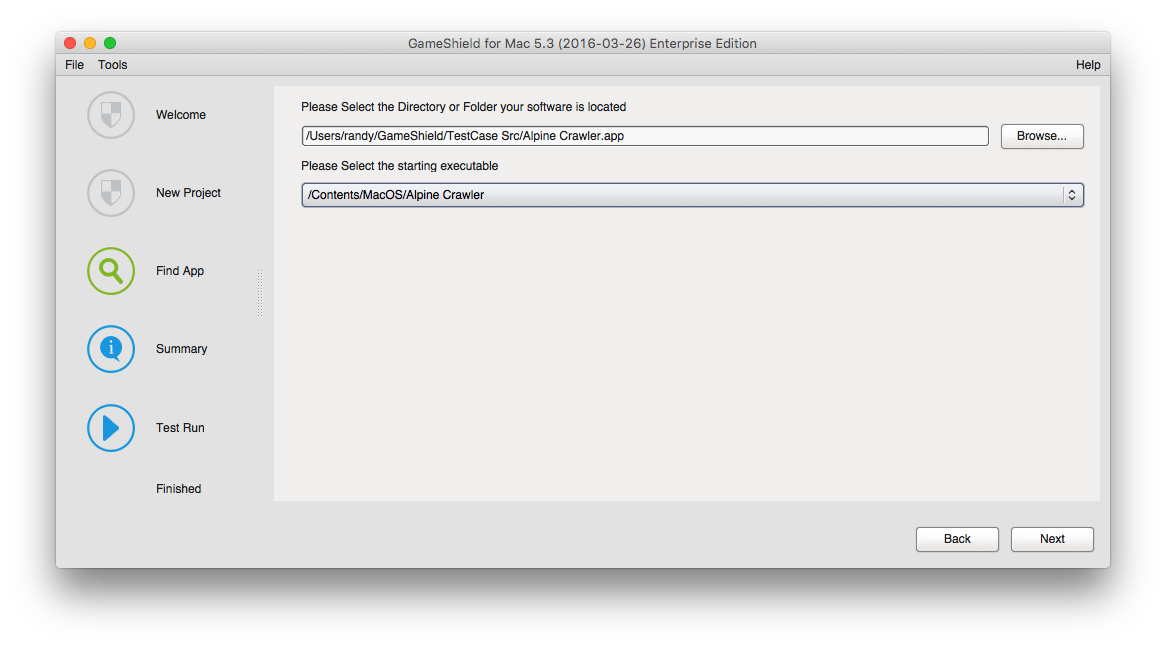
In this step, we will specify where our app binary is and what is the game starting executable.
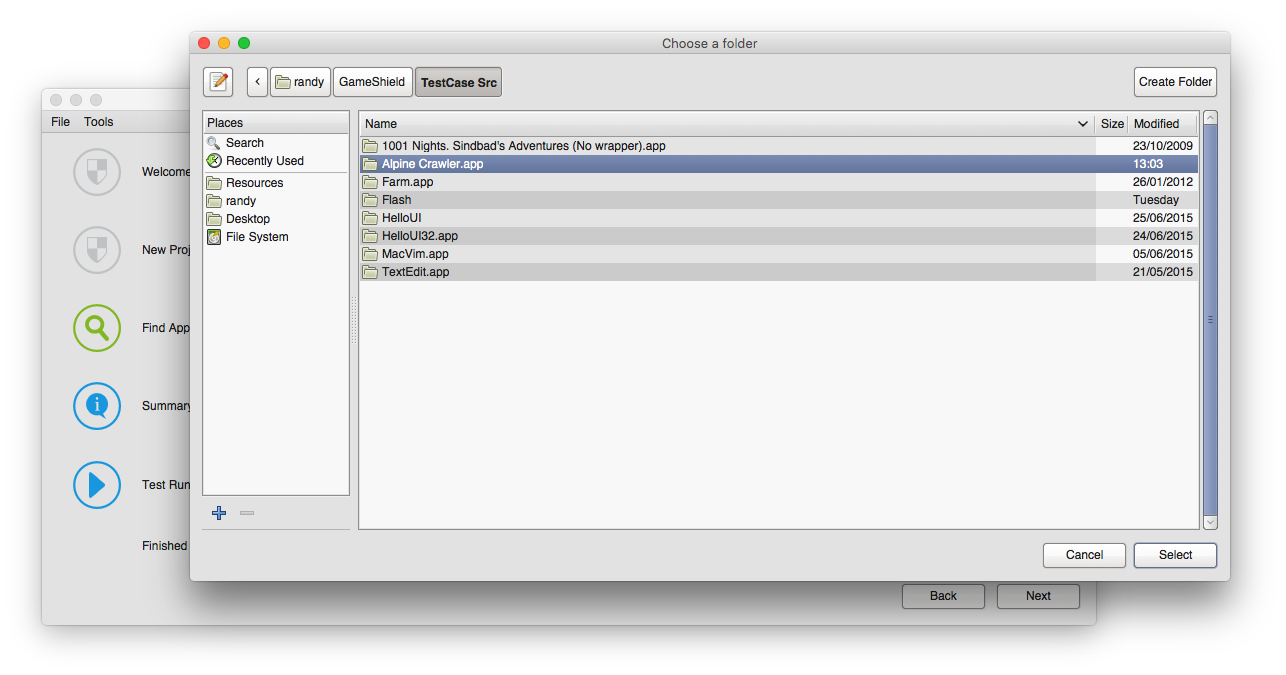
Click the "Browse..." button, go to the app's install directory, The game bundle is named as XXX.app, you must choose the XXX.app folder as following, and click "Select" button:
Click on the App starting executable drop down list, SoftwareShield has detected all app exes for you to select which one is the starting exe.
Click "Next" to continue.
Summary
Now you have a summary for all of your current settings:
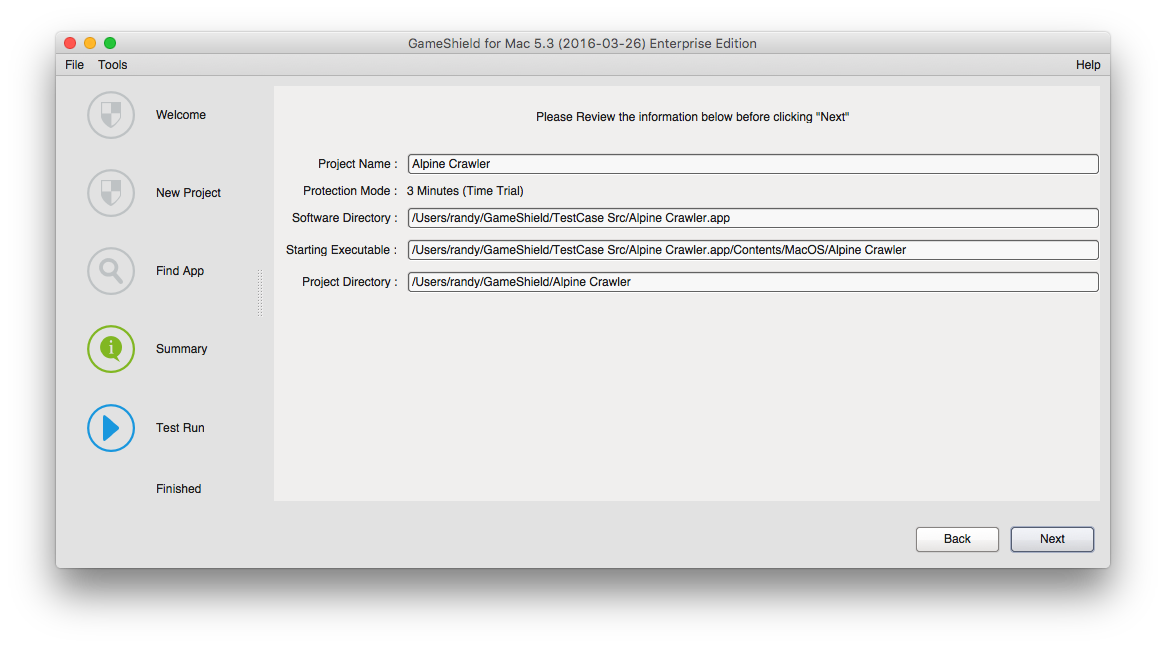
You can go back to previous steps to change the app settings by clicking "Back" button.
Click "Next" to continue.
Test Run
The SoftwareShield IDE starts creating and building the project for the first time:
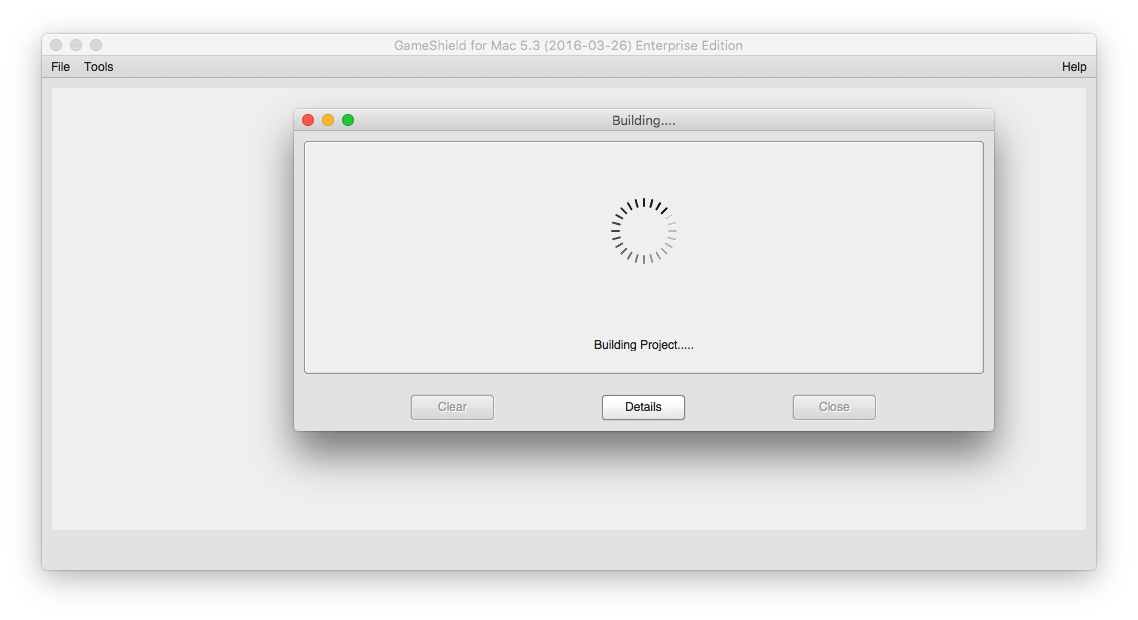
After a while, you will get a feedback as following:
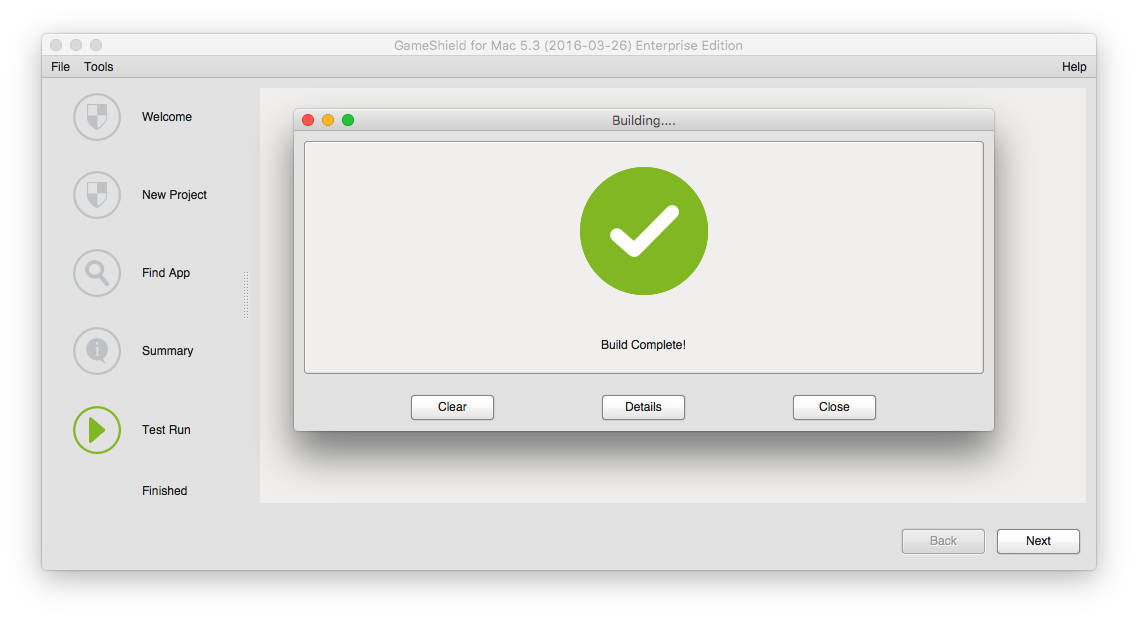
You can click "Details" button to see more details of the project building process.
Click "Close" button to start testing the protected app.
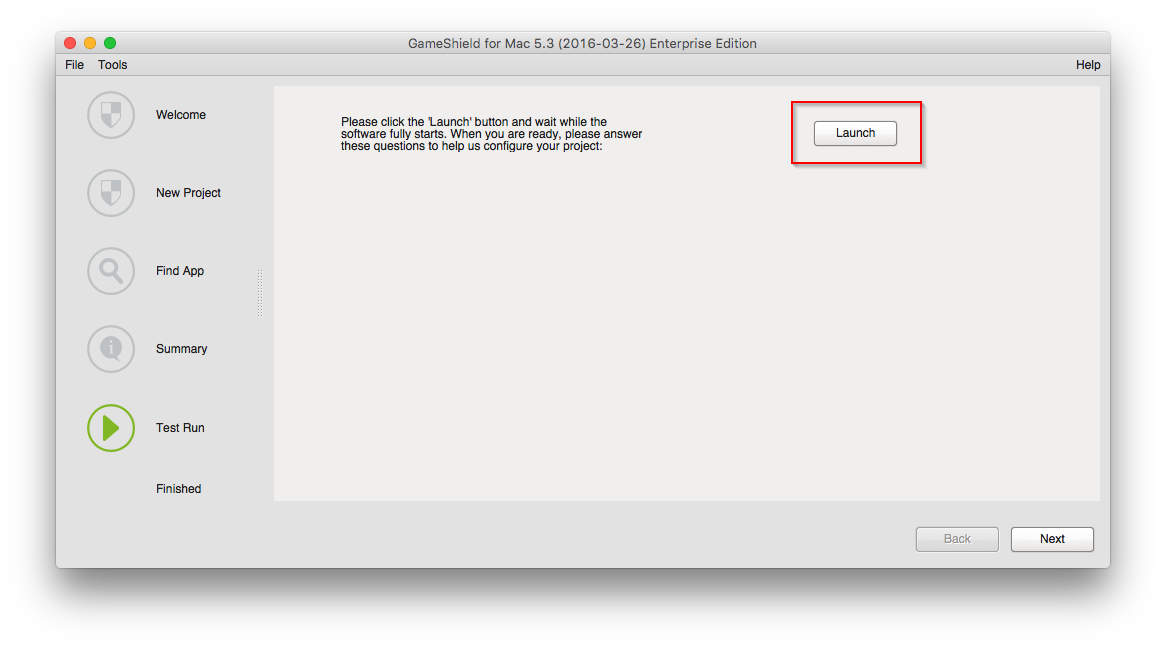
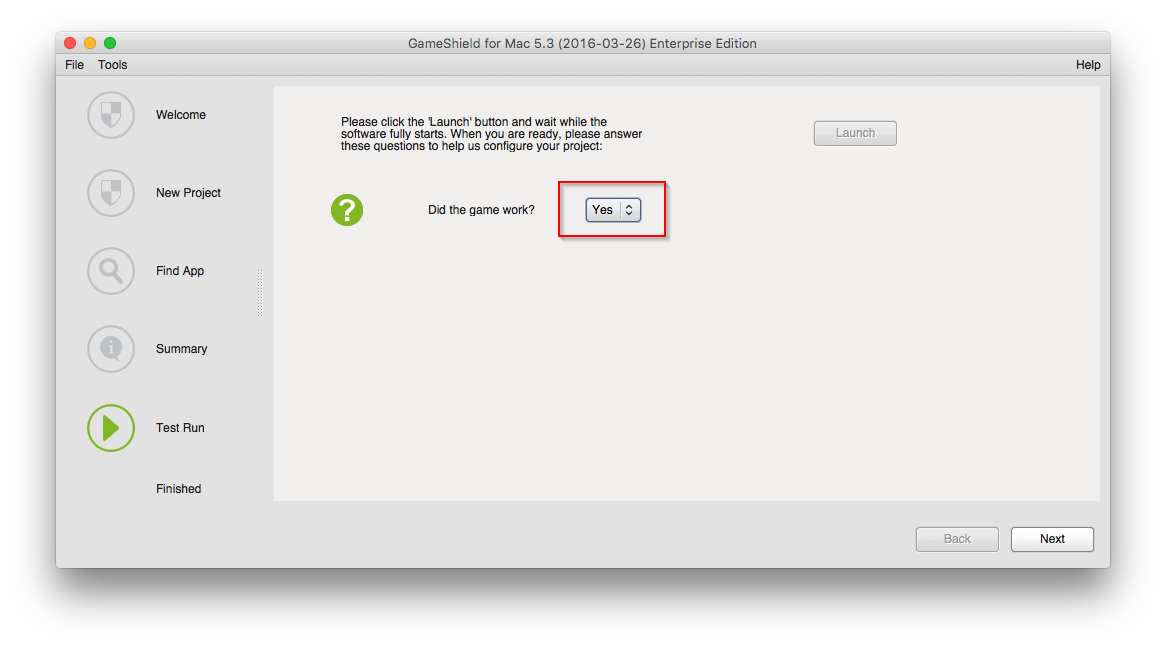
Click "Launch" button, while the test game is launching, the SoftwareShield IDE displays a questionare to confirm the app is running properly.
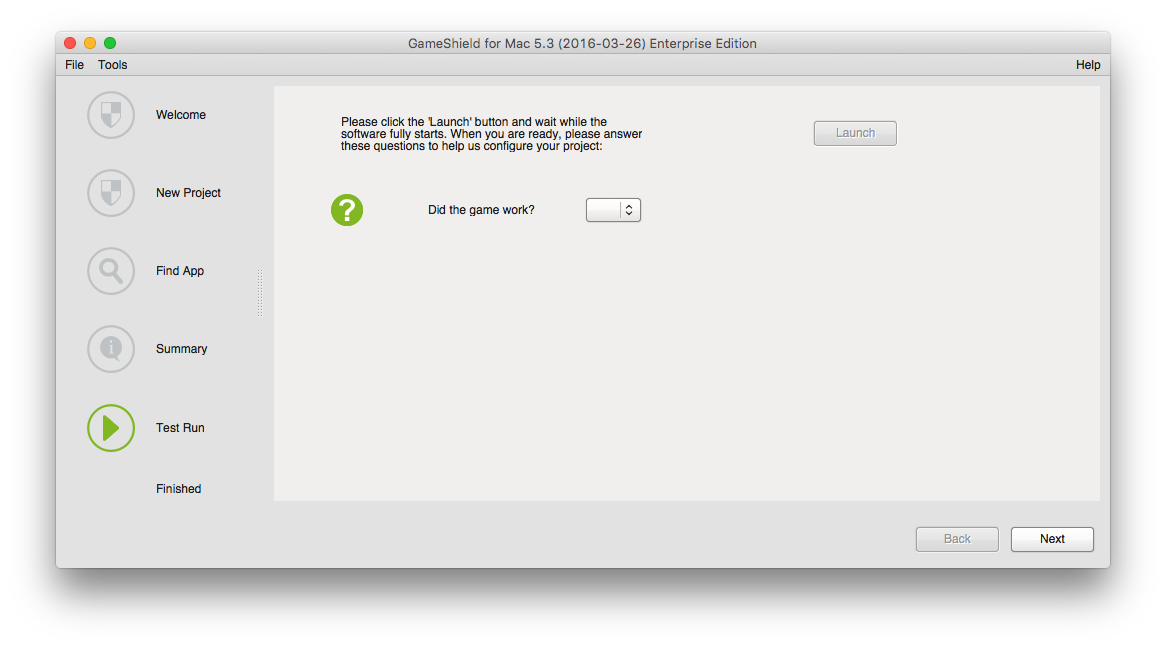
Let's see how the SoftwareShield protected game works:
The game starts up with the default built-in license UI template (ModernBootstrap):
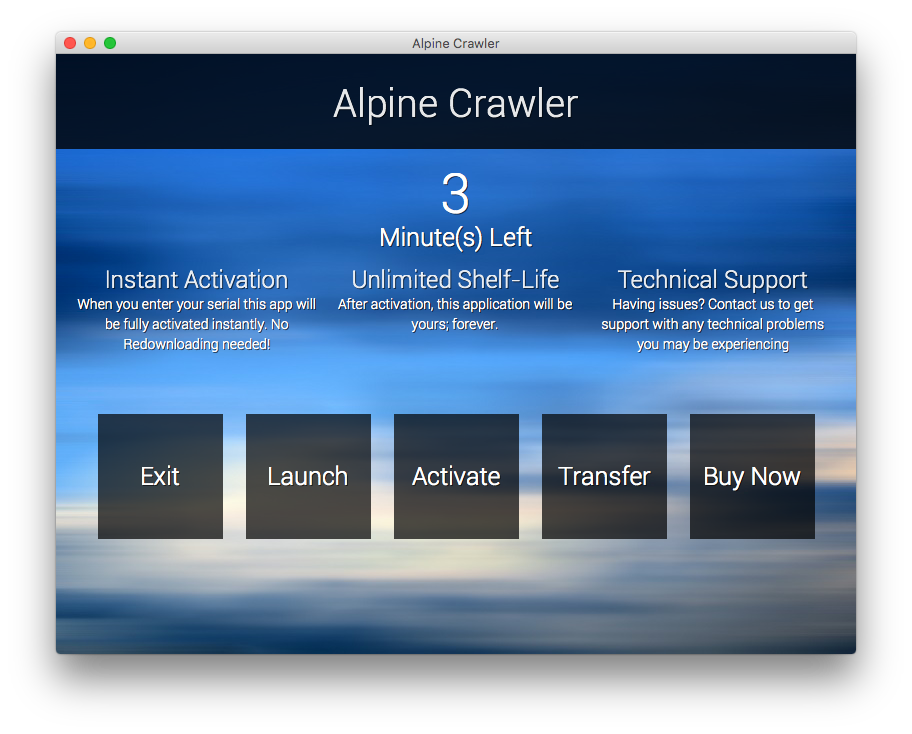
You can see the trial period (3 minutes) is displayed in the middle.
Click on the "Launch" button to run the game in trial mode:
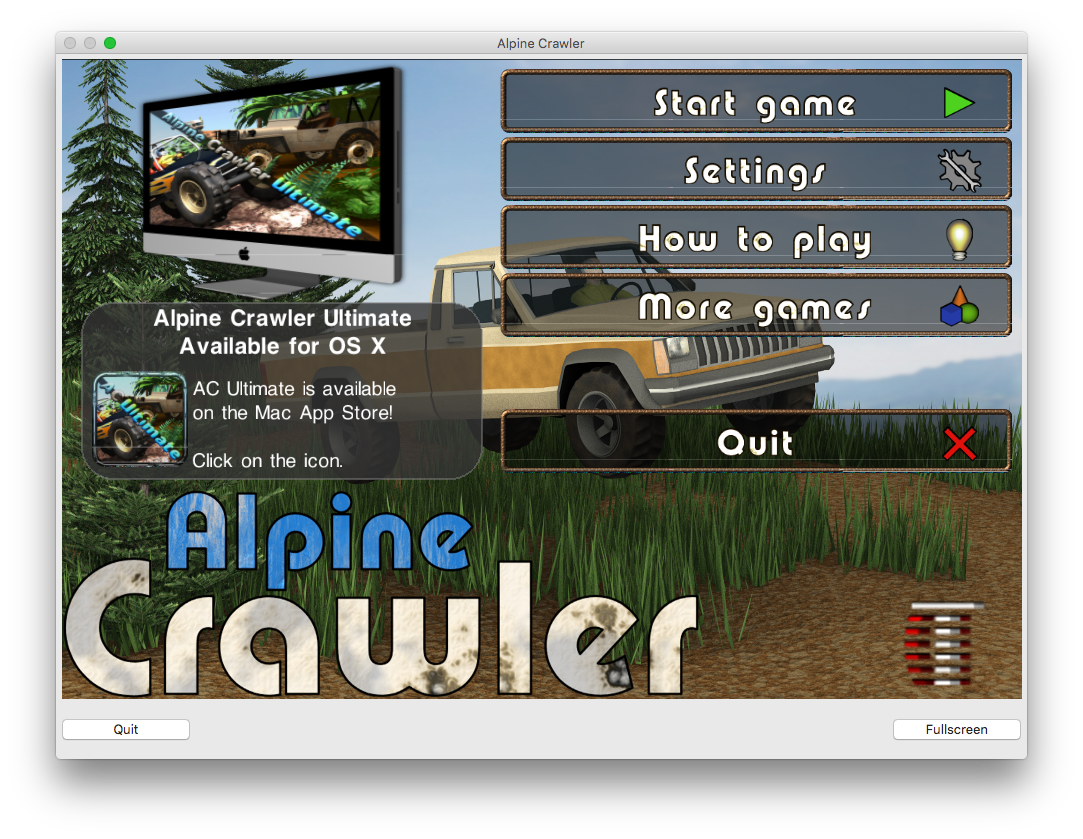
The wrapped game seems to be running perfectly as before. We quit the game by pressing "Command + Q" key combination or clicking the app's exit menu item:
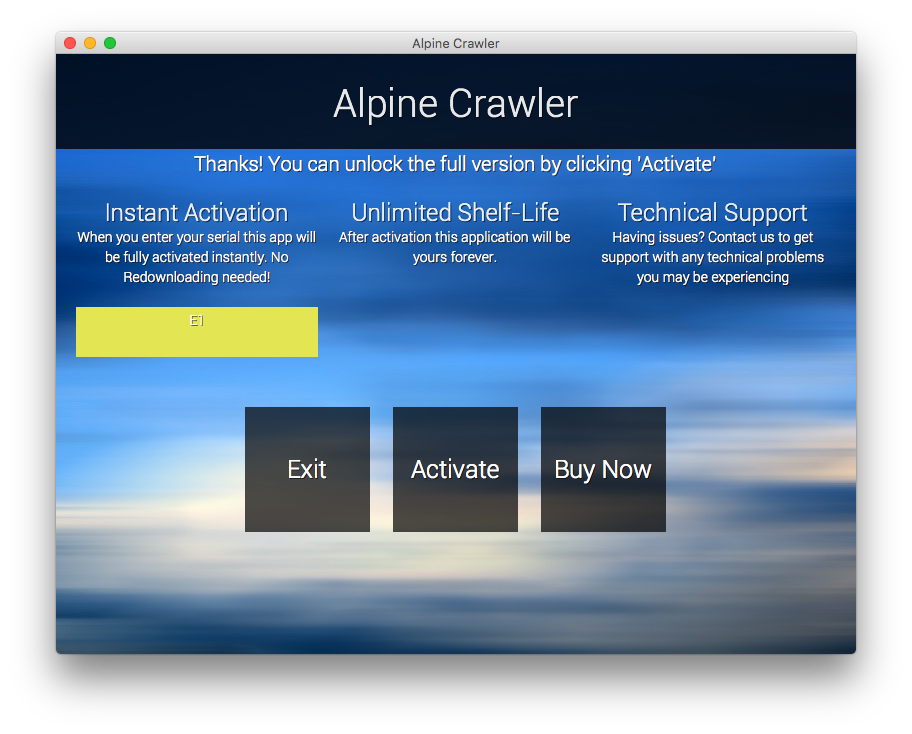
The App-Exit UI pops up after the game terminates.
To test the app expire feature, you can run the game again, wait for at most 3 minutes, the game should be terminated automatically with the following UI popping up:
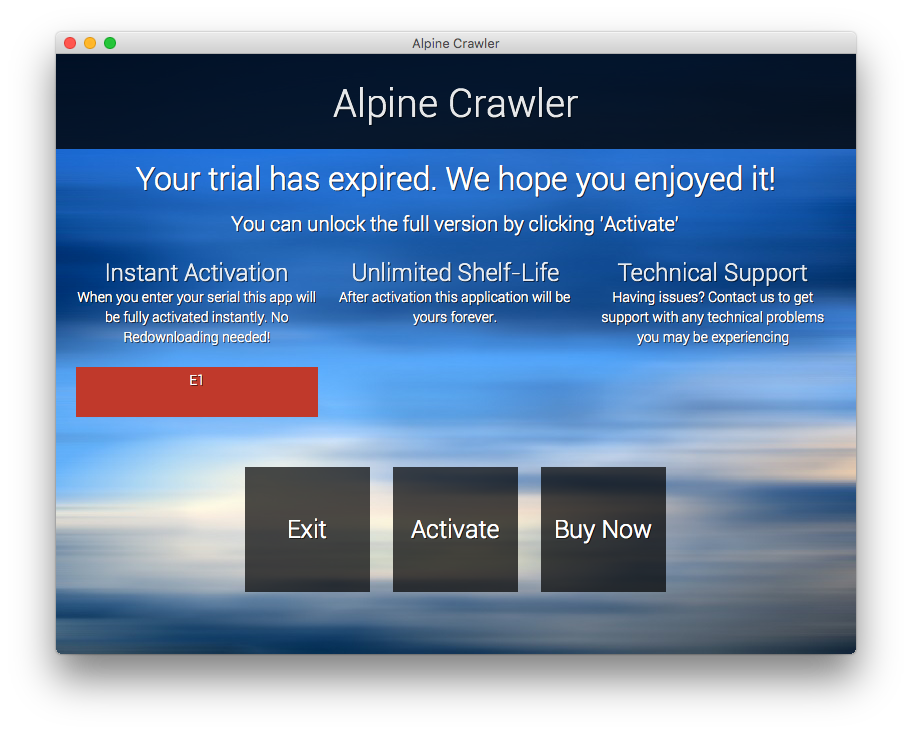
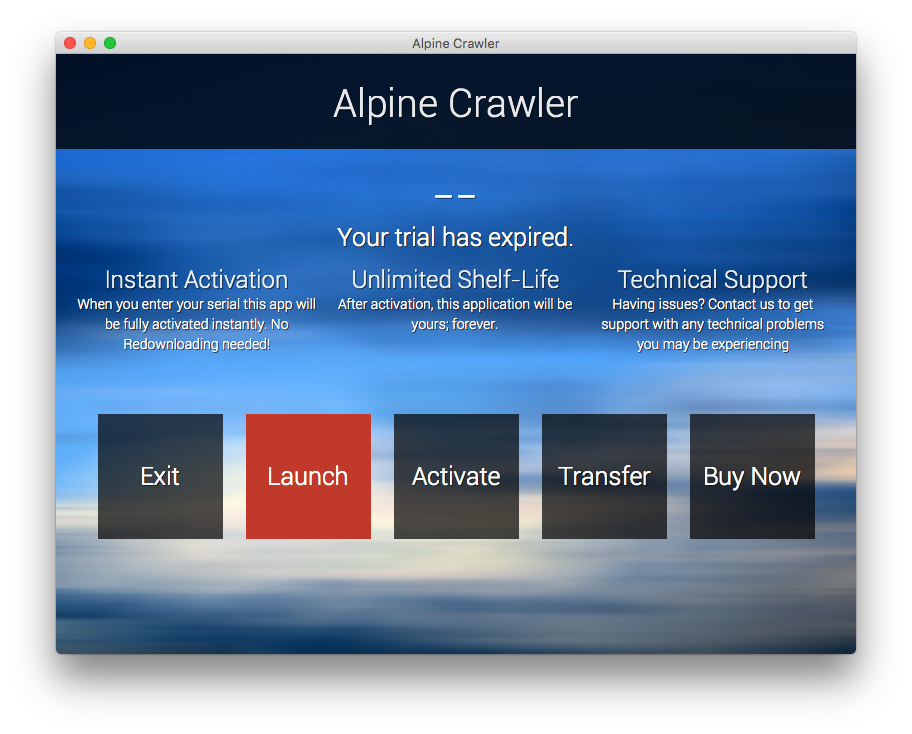
Close the App-Expire UI, relaunch the game, now the app's start-up screen has detected your app is already expired and disabled the "Launch" button:
So everything seems to be working fine as expected, let's confirm it on the IDE UI:
Click "Next" button to the next step.
Finished
On the finished UI, you are provided with a roadmap for further operations:
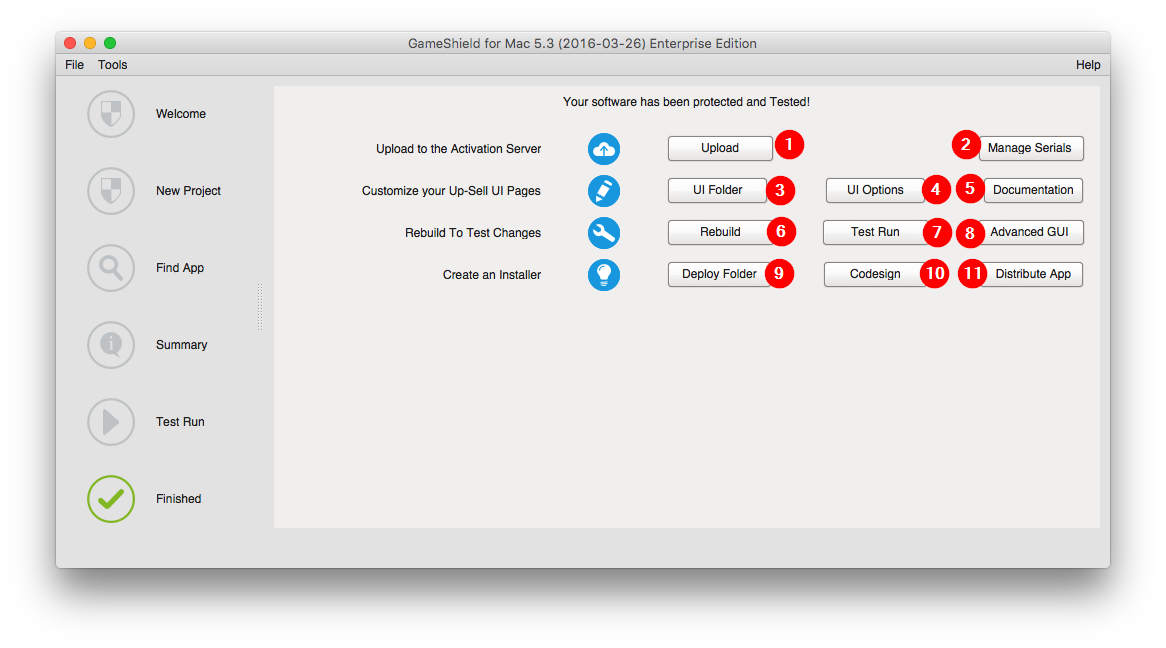
- Upload
Upload your license project to SoftwareShield CheckPoint License Server.

Input your CheckPoint License Management Web Portal account credential, press "Publish" button:
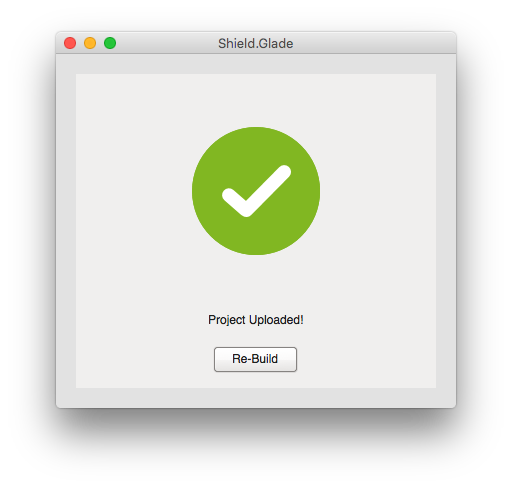
Click "Re-Build" button, the IDE starts building the project again. After the project building, the SoftwareShield IDE switchs to Test Run tab, this time you have a sample serial number so you can test if the game can be activated online successfully.
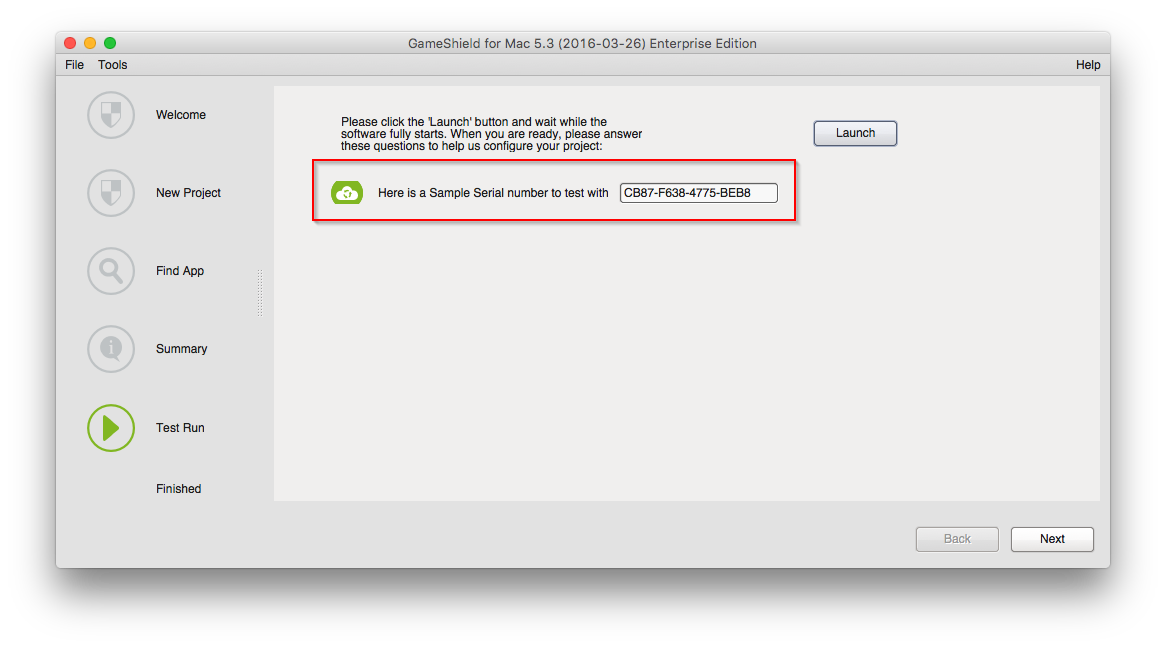
Once you have confirmed to the IDE that the online activation works fine, the IDE will display more information that can be used to integrate with your e-commerce provider (ref: Serial Number Generation)
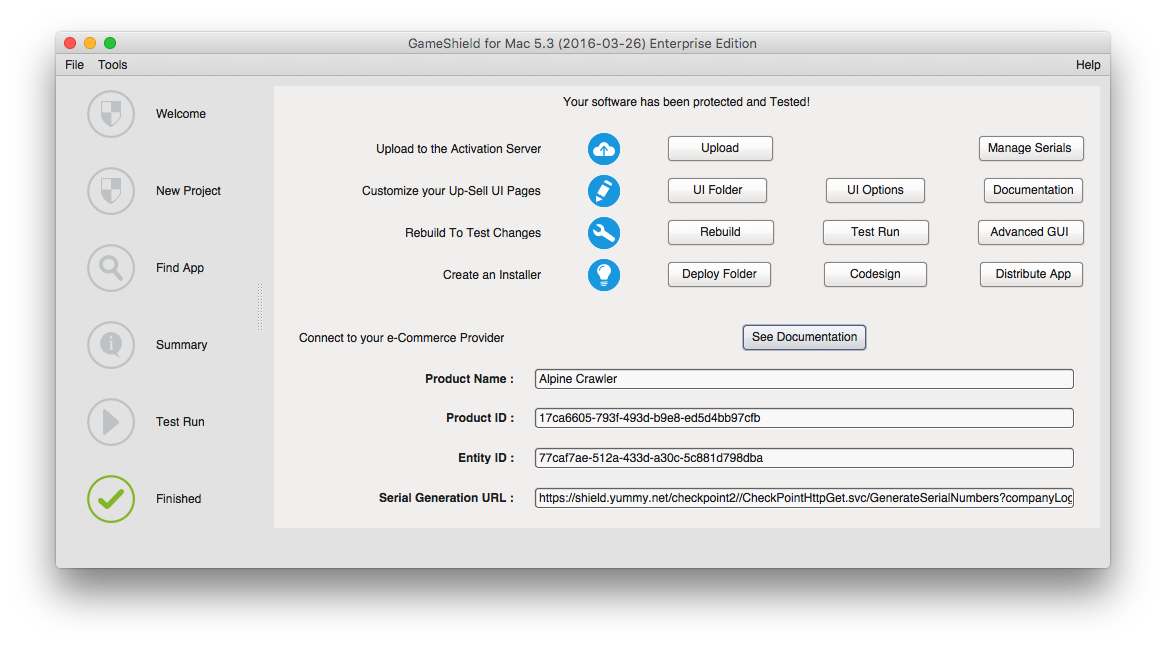
- Manage Serials
Short-cut to CheckPoint License Management Web Portal.
- UI Folder
Browse the license UI folder in Finder, so you can customize it manually.
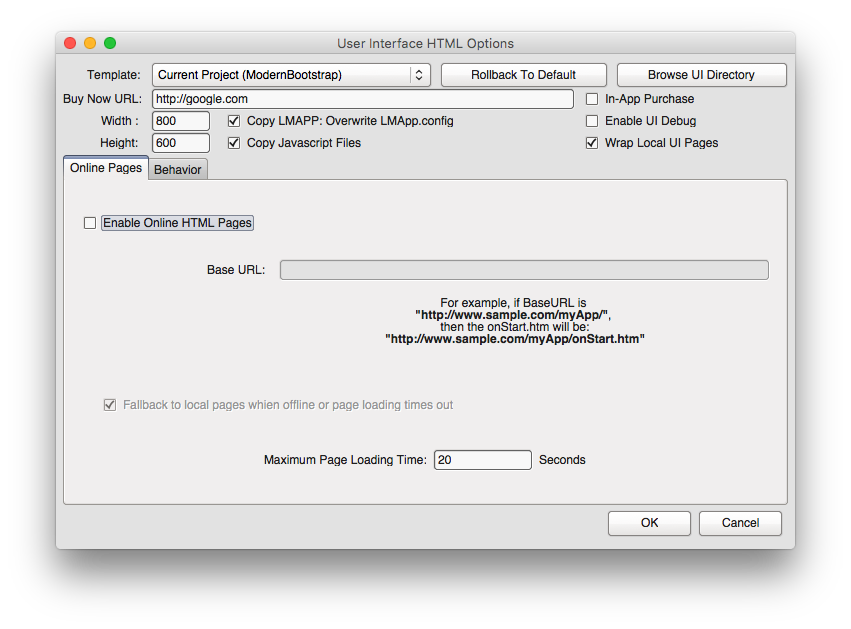
- UI Options
Customize License UI settings.
- Documentation
Short-cut to SoftwareShield documentation web site.
- Rebuild
Rebuild license project.
- Test Run
Test the wrapped app again.
- Advanced UI
Switch the IDE to advanced UI mode.
- Deploy Folder
Browse the wrapped app's binary folder for final deployment.
- Codesign
Setup codesign settings in IDE, if the codesign feature is enabled, the IDE will codesign the wrapped app after project building automatically.
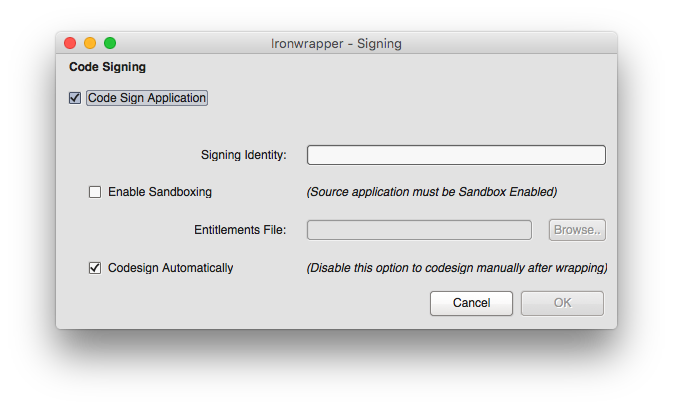
- Destribute App
Short-cut to Apple's documentation web site on Distributing Your Application.