FastSpring: Out-App Integration
Create Product
Set up Serial Number Generator
Create an Order Email
Test Drive
Buy Now from Software
Summary
In this tutorial we will demonstrate how to integration with FastSpring.
Prepare a FastSpring Account
Goes to FastSpring website, signup for a free account; login to your account.
Create Product
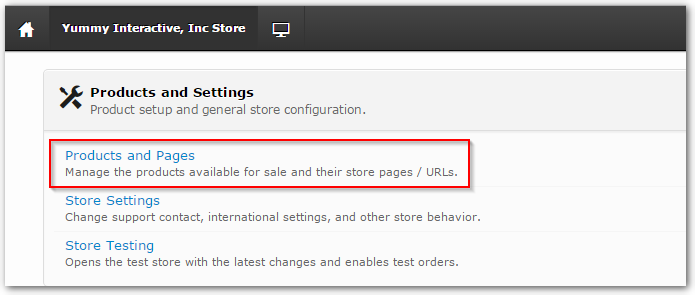
Click the "Products and Pages" link to go to your product management UI:
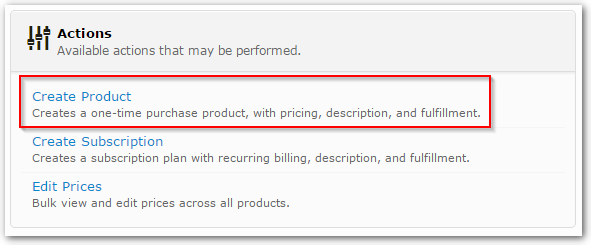
Click "Create Product" in the Actions panel On the right side:
Fill in the fields with proper value:
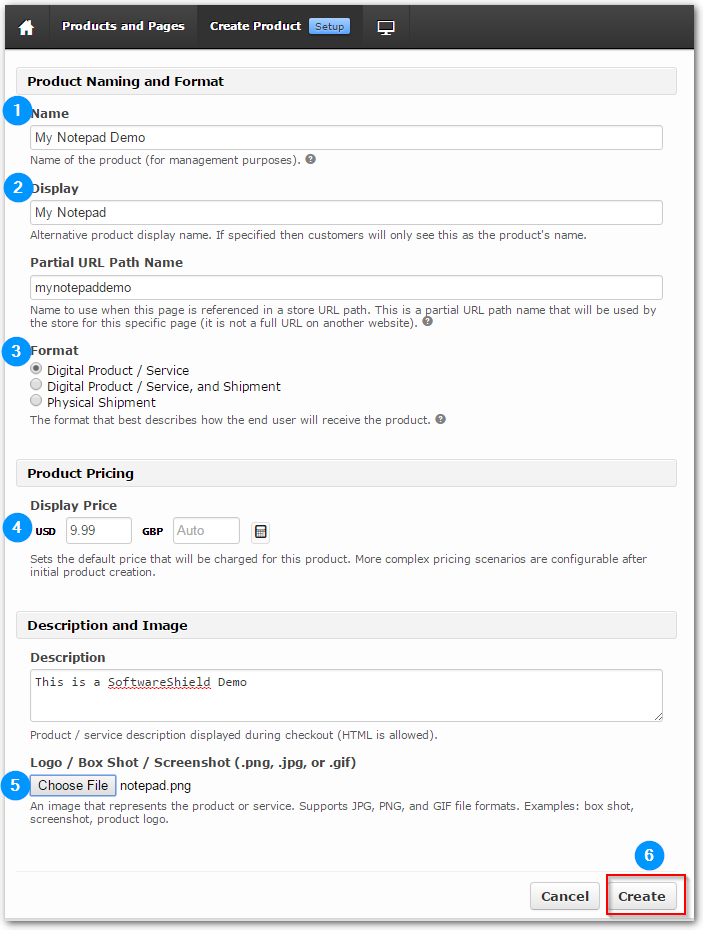
- Name: The product name shown on FastSpring product management page;
- Display: The product name displayed on the HTML page shown to your customers. You should set up a user-friendly name that your customers can easily understand. Normally it should be the same as the product name on your SoftwareShield license UI page;
- Format: We are selling software so the first choice is the best;
- Display Price: The product's retail price in USD;
- Description and Image: Here you can write a plain text or HTML code as product description, and upload your product logo, all of these will be part of your product's FastSpring store page;
- Click the "Create" button to create the product.
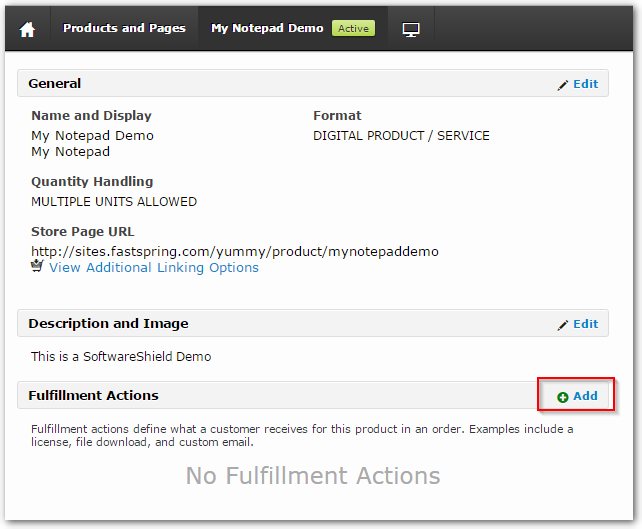
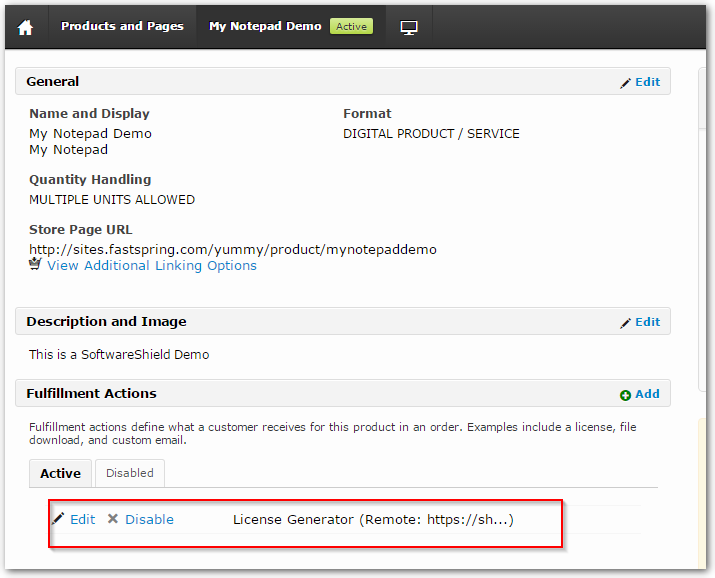
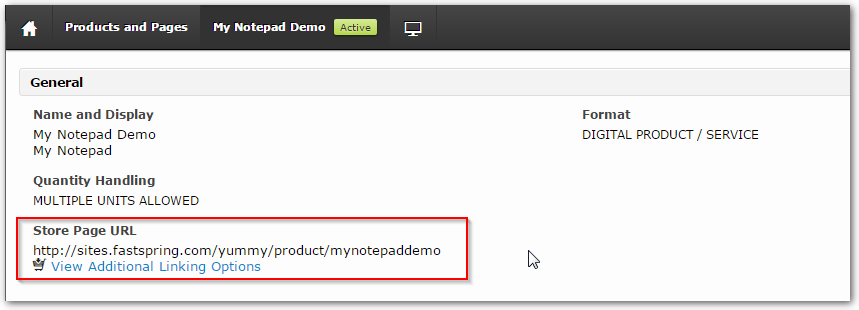
Now we have a new product page as following:
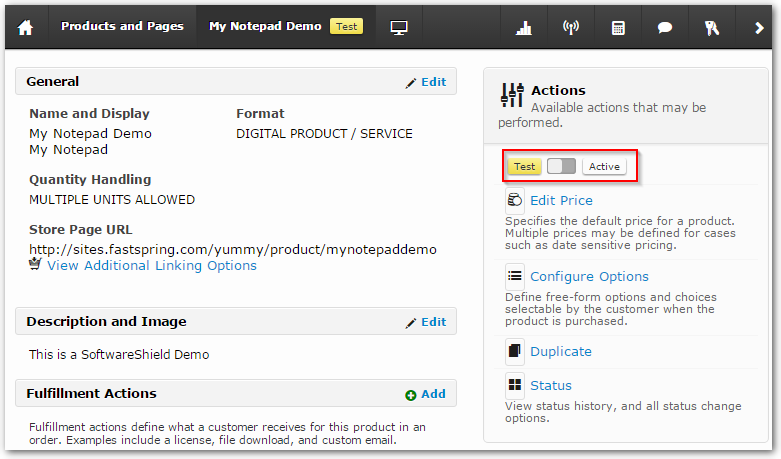
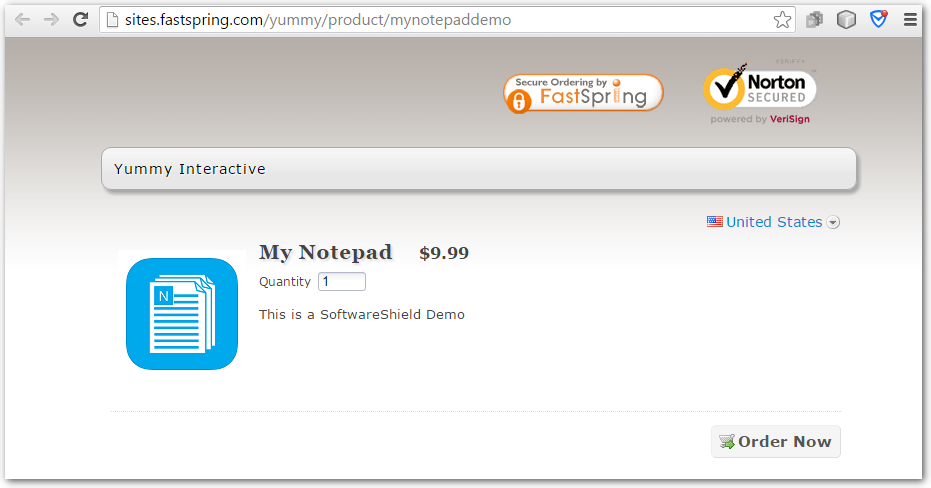
You can turn on the Active mode and go to your final store page:
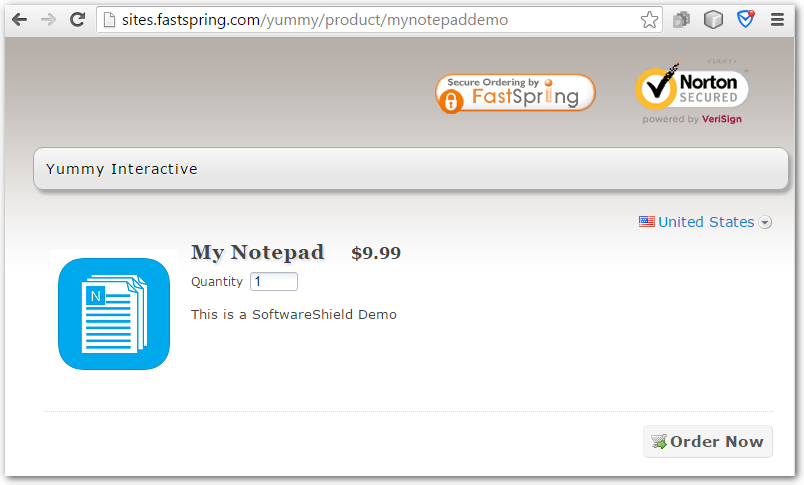
So far, so good, FastSpring has generated a product store page for your customers. Of course you can further customize the store page and setup complex price plan as needed, please read FastSpring help documents or contact technical support for more details.
Set up Serial Number Generator
After user has made the payment, you must issue a serial number for the order. SoftwareShield e-commerce API allows you generate a new serial number on the fly.
Click the "Add" button on the right side of Fulfillment Actions panel:
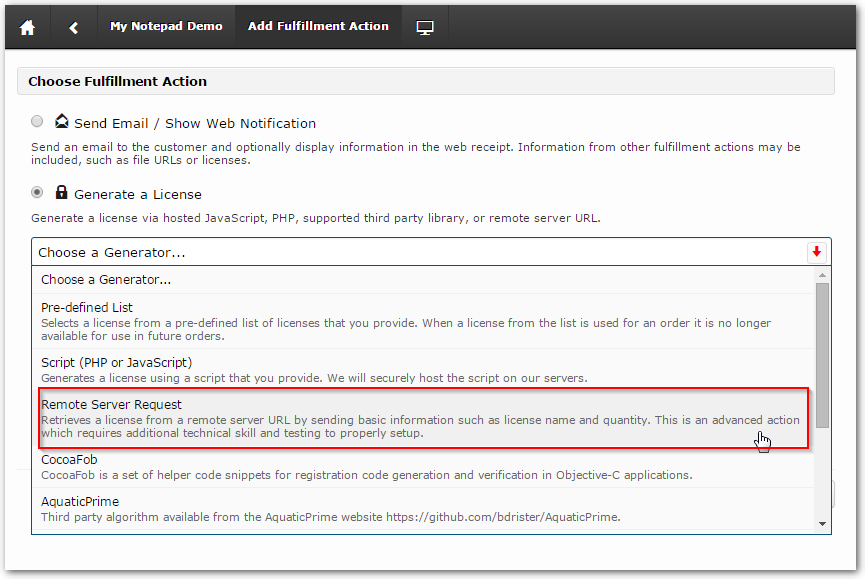
Click the Generate a License radio box, select the Remote Server Request item from the drop down list, and press the Next button:
Now, we can setup SoftwareShield license generator as following:
- General Tab
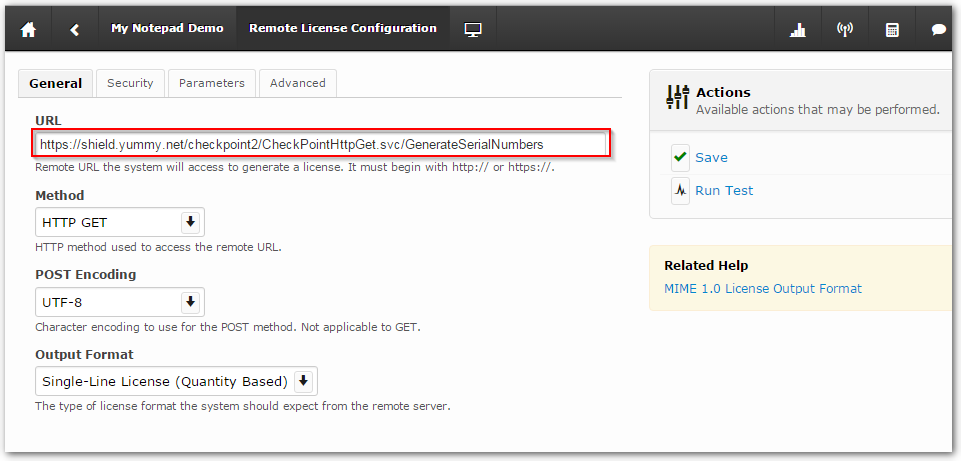
- URL: It is the SoftwareShield license server GenerateSerialNumbers API's URL:
https://shield.yummy.net/CheckPoint2/CheckPointHttpGet.svc/GenerateSerialNumbers
please refer to Serial Number Generation for details.
- Method: it must be set to "HTTP GET";
- Output Format: Single-Line License;
- Parameters Tab
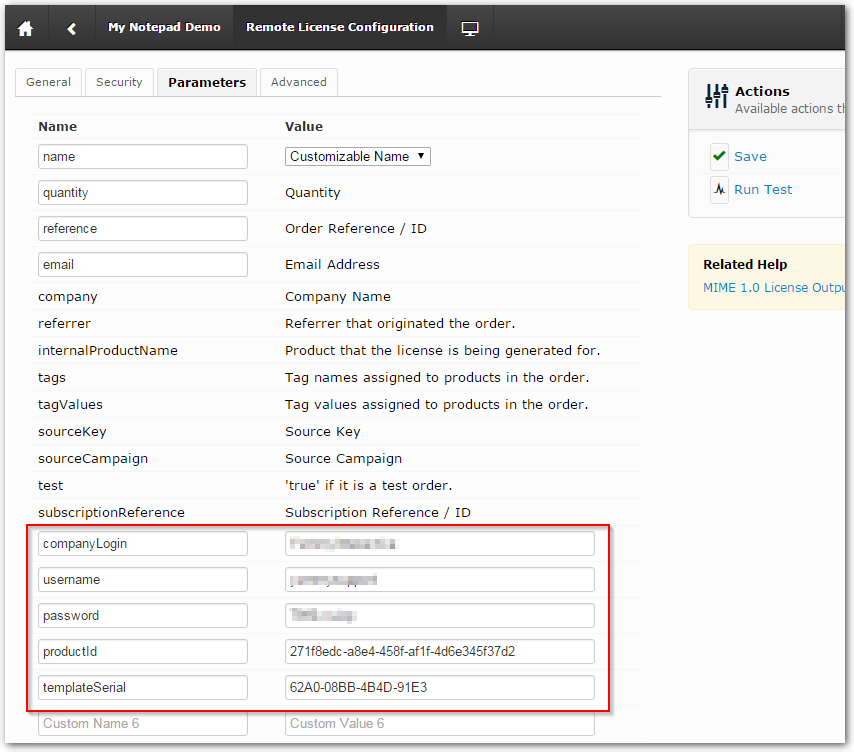
Here, you input your CheckPoint Web Portal account credentials and specify the serial number behavior. Basically you can explicitly specify applying which action (usually it is act_unlock) to which entity, it is pretty flexible; but it is recommended you design the licensing behavior in CheckPoint license web portal interactively, and create a template serial number, then all new generated serial numbers are cloned from the template, it will make a short URL and also has more flexiblility.
Please refer to Serial Number Generation for supported parameters.
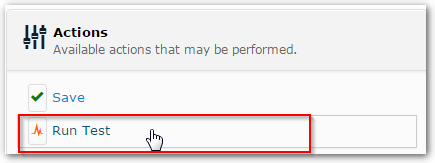
- Verify the Serial Number Generator
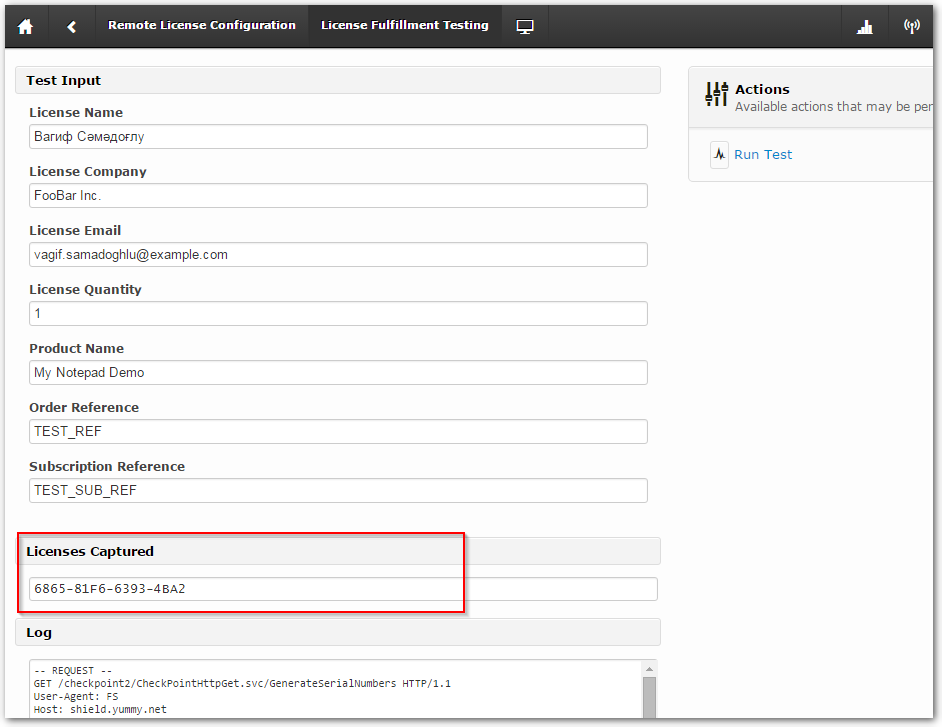
To know if your settings really works, click the Run Test button in the "Actions" panel:
If you have followed this tutorial so far, and set up the parameters correctly, you'll get a new serial number generated:
Cool! now we can press the "Create" button to finalize the license generator:
You can edit it again by pressing the "Edit" button, for example, you may create a meaningful name so it can be re-used later.
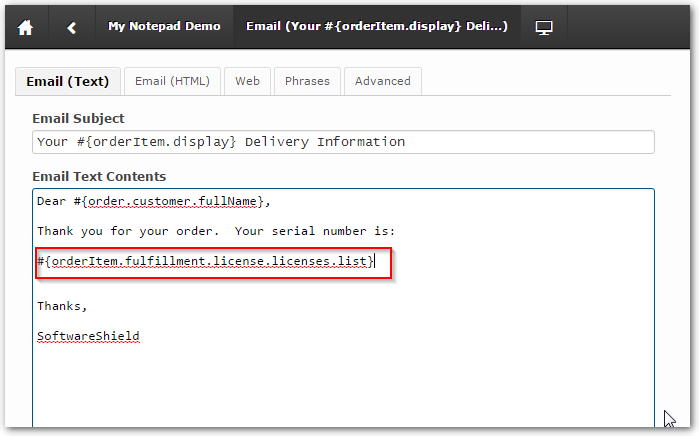
Create an Order Email
Now that you have generated a serial number on the fly, it is better to send it along with the order-id to your paid customer. You can refer to FastSpring web site on how to add email fulfillment.
Test Drive
Let's work through the purchase workflow and verify everything works as expected.
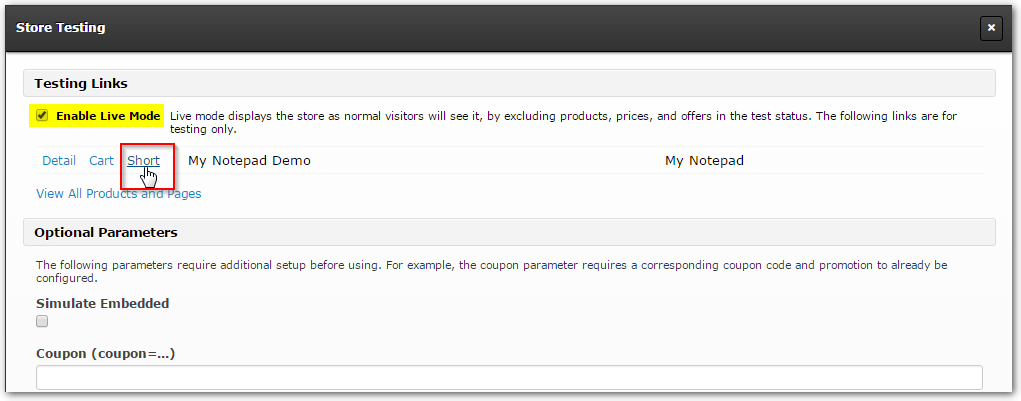
Click the Preview icon on the top toolbar:

Click the Enable Live Mode checkbox, then click the Short page link (we just demo the "short"-style store page, you can try others)
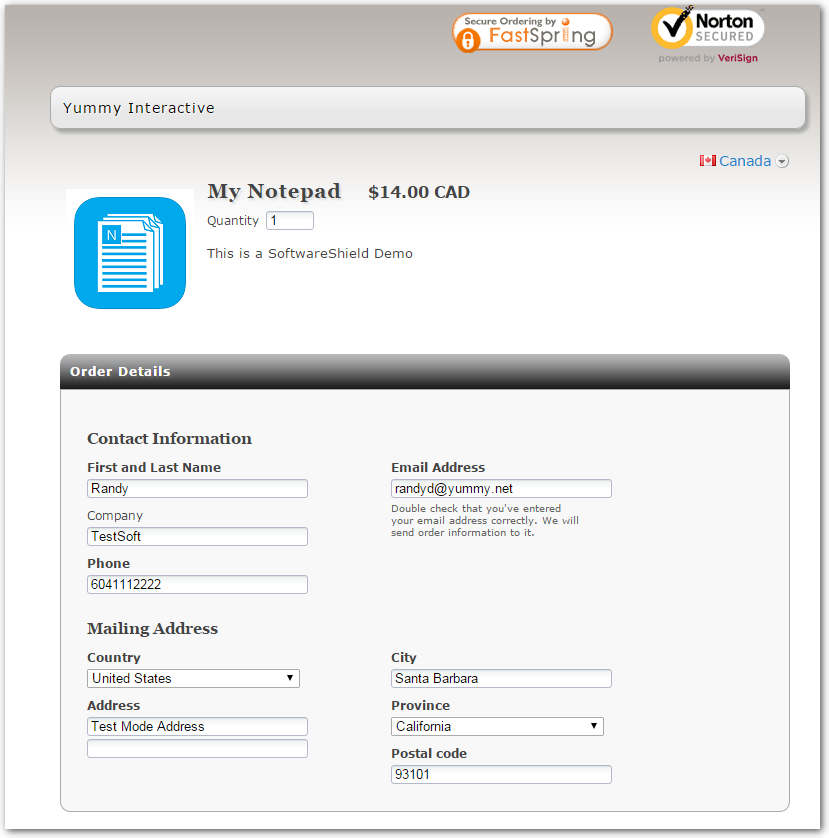
A new web browser windows pops up, please check if the information is correct:
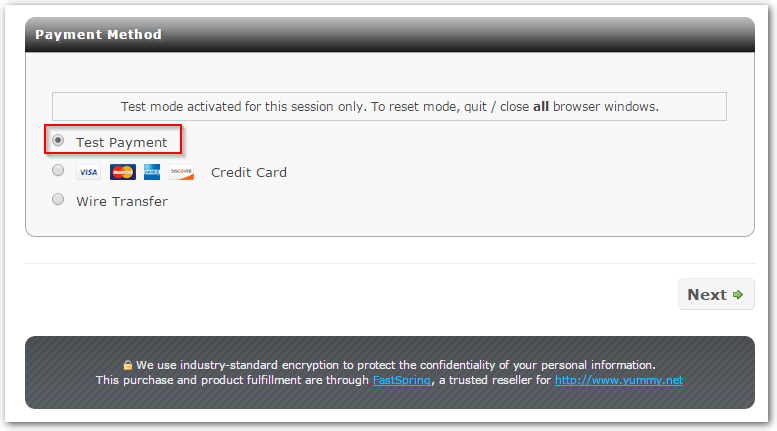
Make sure select the "Test Payment" as payment method, then press "Next" button:
On the order confirm page, press "Complete Order" button:
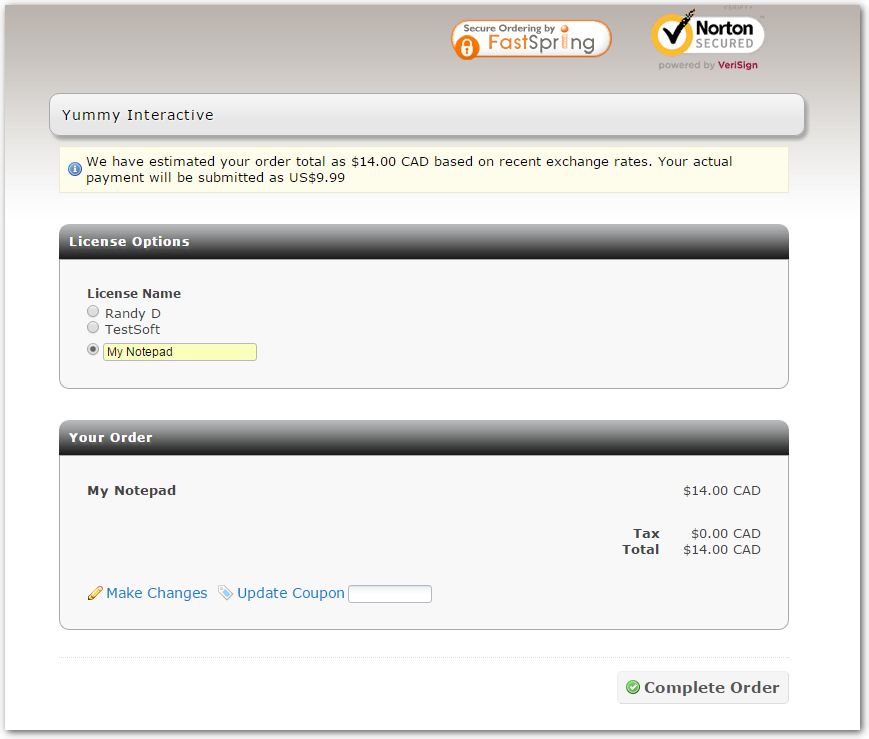
This is the last post-payment order page:

Please check your email box, you should get a new email with generated serial number like this:
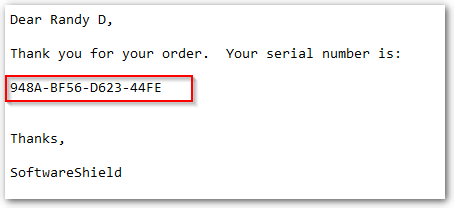
Congratulations! you have successfully finished the FastSpring integration settings, the customer can make payment on your FastSpring hosted product store page and receive a new serial number from an order email.
The last thing need to do is to guide your potential customer from SoftwareShield protected software to the FastSpring store URL.
Buy Now from Software
Here we will setup our purchase URL to the app store web page, please refer to How to set Buy Now URL?.
- Copy the Store Page URL from FastSpring product page to clipboard:
- In SoftwareShield IDE, main menu "Edit" => "UI Template Editor":

Find the "Buy Now URL" property, paste the store URL to its value field, press the "Save Changes" button, close the editor UI.
- Rebuild the project.
Now we can test the whole workflow:
- launch the wrapped app in Release\Deploy\ folder:
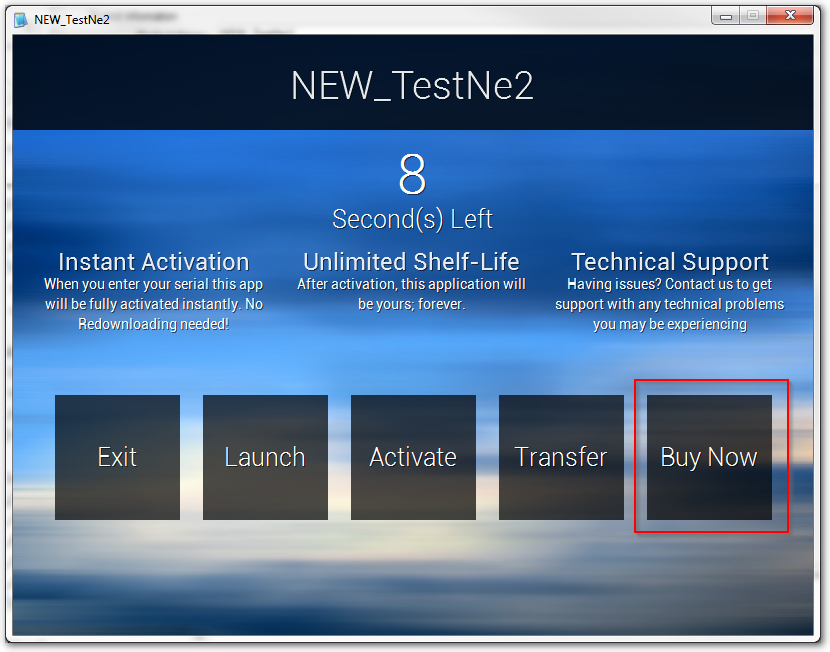
- Click the "Buy Now" button, now your app store page pops up!
All Done!
Summary
In this tutorial we have integrated SoftwareShield with FastSpring without complicated code programming. The customer launches your app, press "Buy Now" to launch default web browser and go to the FastSpring hosted app store page, make a payment, get a serial number from order email, then input the serial number on the app's activation UI, activate the app, then the app can run fully unlocked.
It is the first part of FastSpring Integration, in the next part we will demonstrate how to simply the above workflow to give your customer best purchase experience.